How NOT to start and proceed on a 1914 BSA

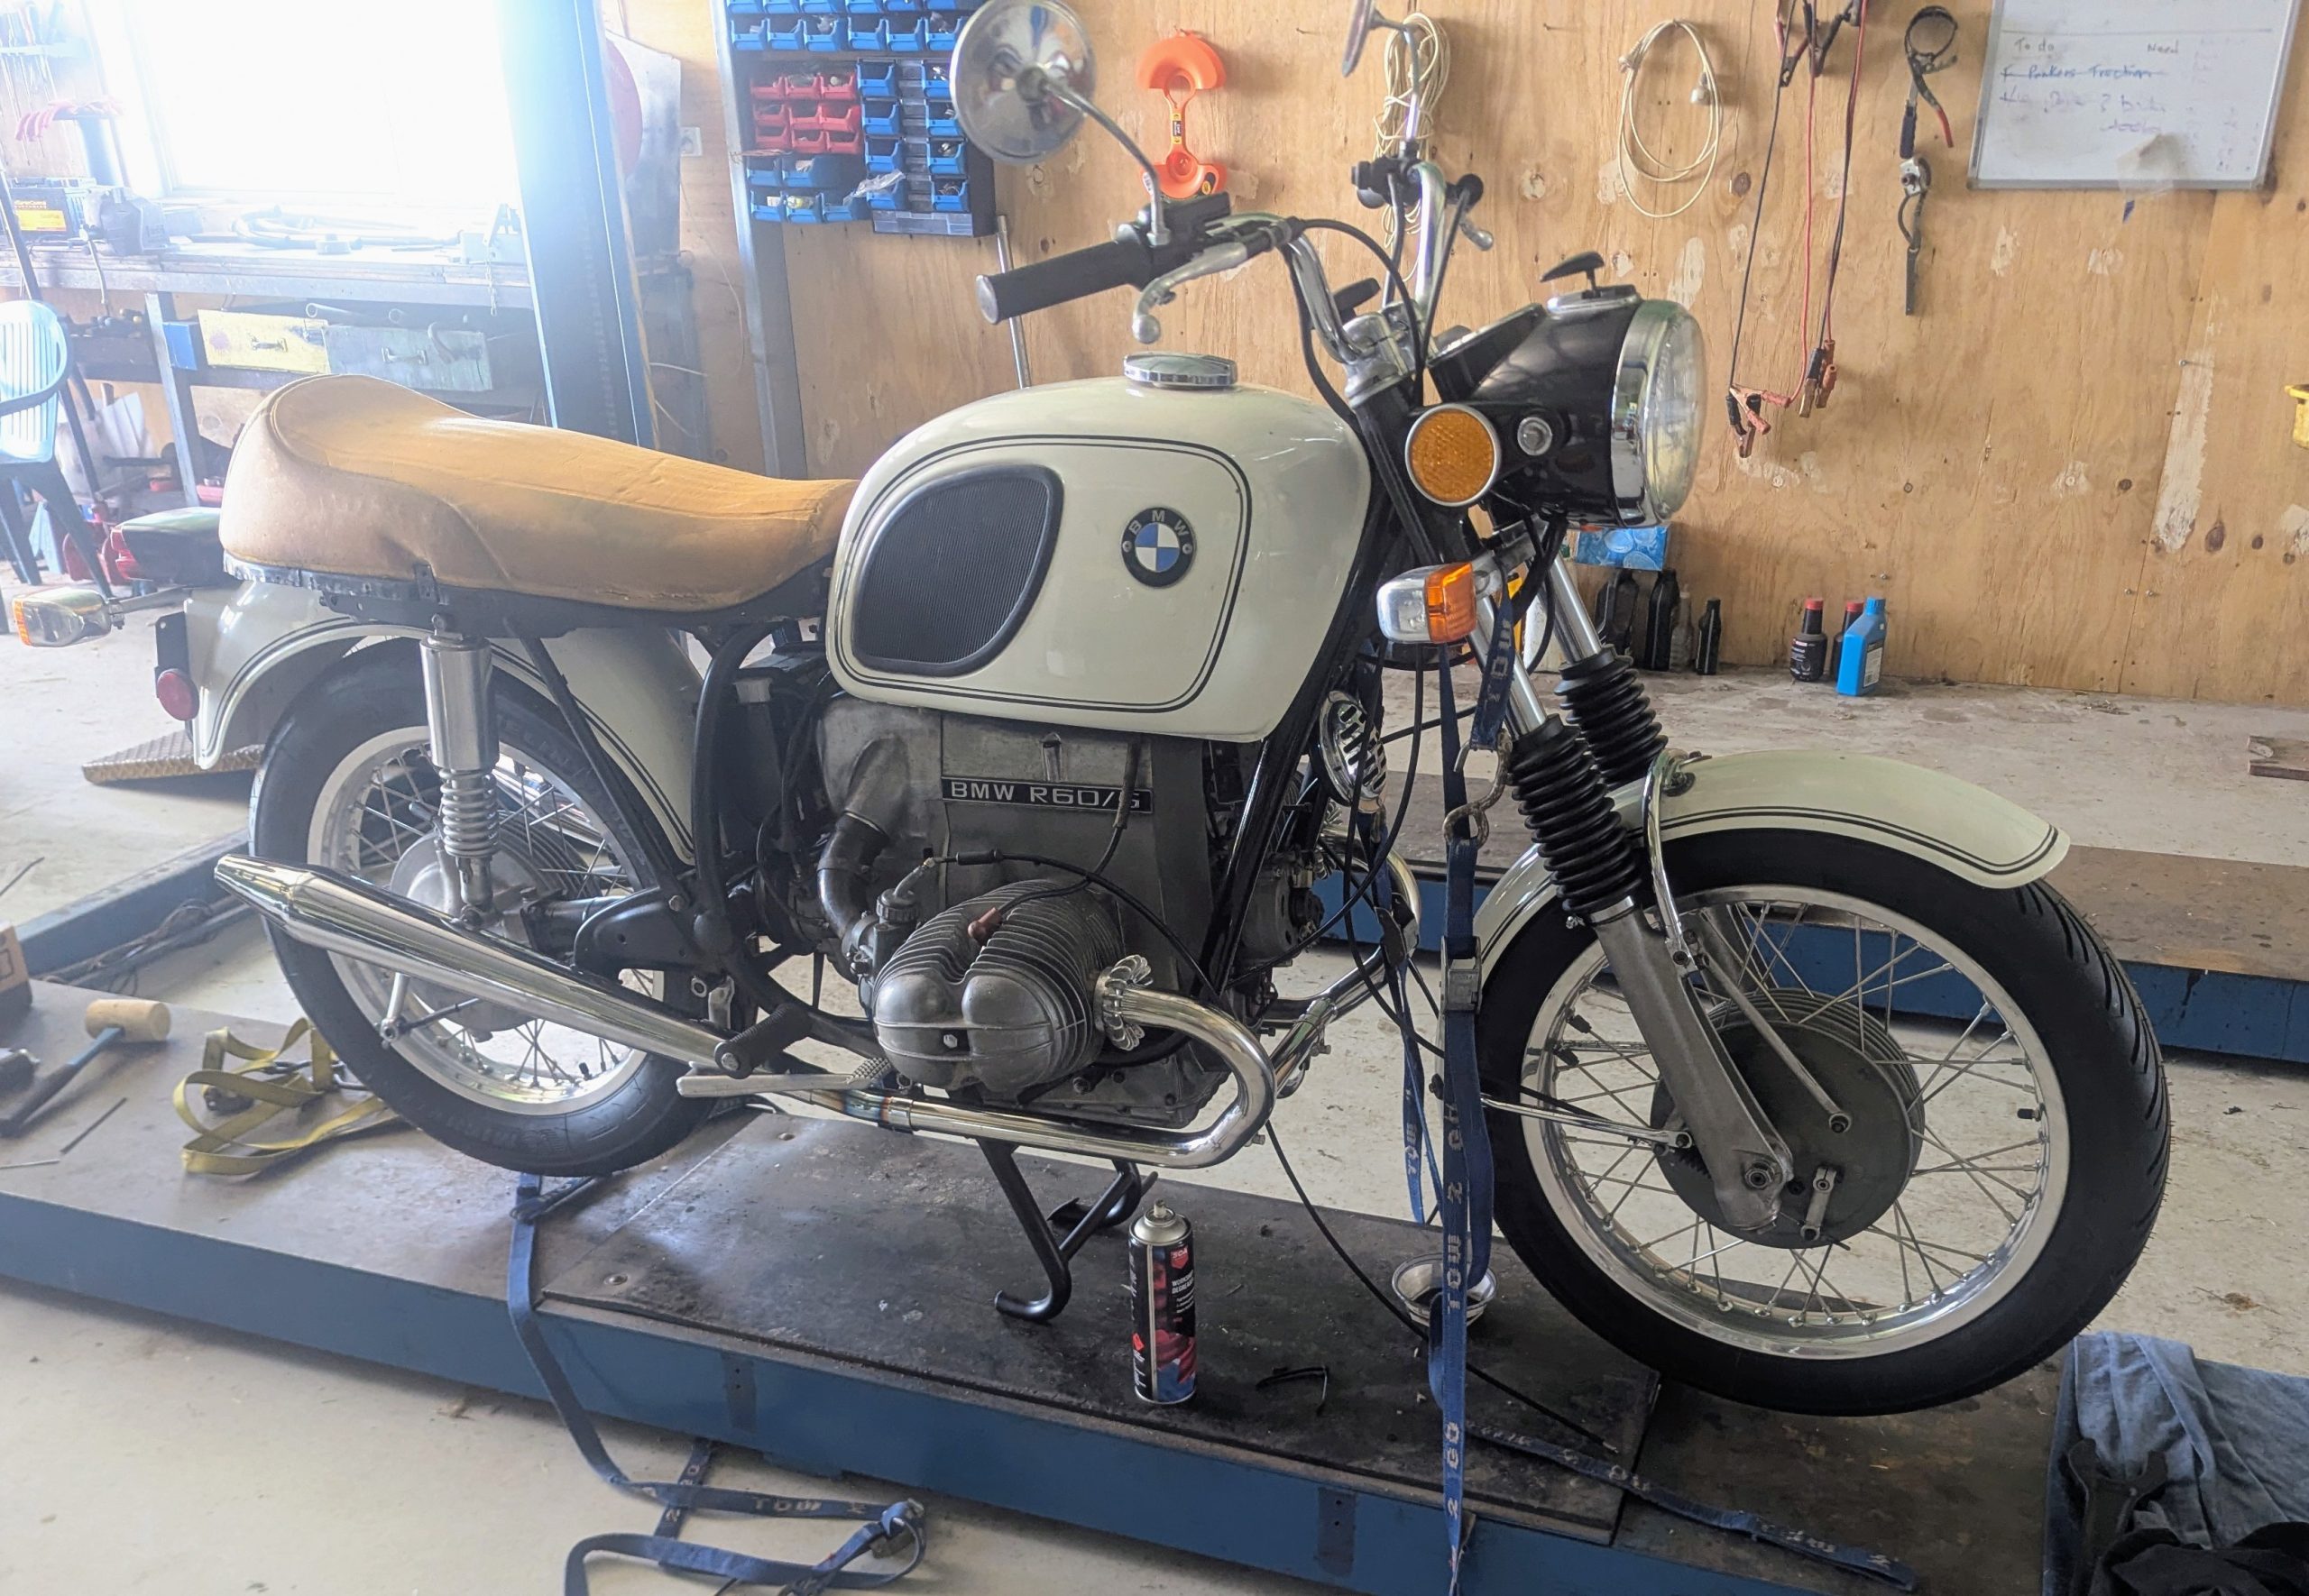
I thought it would be a good idea to at least start the bike so as per the manual you need to do the following:

  • Put bike on stand (rear wheel will be off the ground)
  • Engage 1 st gear
  • Turn the fuel on, turn tap clockwise (very cunning)
  • Set main jet to 3/4 turns out
  • Air and throttle levers open a bit
  • Advance lever a bit advanced
  • Press decompressor lever operate the kick starter and let the decompressor go
  • It ran then it stopped, pour some fuel into the tank, it starts!

Now in my excitement over such an easy start I thought a little putt putt around the shed was in order so lets get it off the stand, as you can imagine this was not a good idea as the bike was still in gear and running. Upon the wheel hitting the concrete it took off with me standing next to it barely holding onto the handle bars, at this stage we (the bike and I) were headed for a small gap between the bike trailer and the garage door, there was room for the bike I just got dragged through the trailer. I eventually found the decompressor and it wheezed to a halt touching the shed wall. Not a scratch on the bike, not the same can be said for me but nothing broken.

Some years ago Sue was trying teach me to ride a horse and somehow I got the pedals mixed up and it went into a gallop, I fell off and after I regained some air into my lungs Sue made me get back on which in retrospect did little for my confidence as I’ve never been on a horse since. Now in this vane I thought I had better try for that putt putt mentioned earlier, this time with the caution of pointing the bike to relative freedom of an open door and after starting remembering to engage neutral I took it off the stand, got on, I engaged the clutch but I didn’t realise that the plates were glued together, engaged 1st gear and the it shot out the door. All good I managed a few laps and even engaged 2nd but I did make sure that I stopped it before entering the shed. So much better than a horse.

2 Wheeled Stuff

A couple of years back I bought a R60/5 BMW motorcycle it was a bit sad but had very low milage otherwise time and ill-use had worked it’s inevitable toll on it.

This was another of my “Sight unseen” buys that generally don’t go that well, but it’s a motorbike so how hard can it be? Well a fare bit harder than I thought but I’m nearly there.

In the late 60s BMW was at a cross road they had been making very expensive motorcycles for the gentry and they had at last started making sizable profits from selling cars so did they need the motorcycles anymore? Also the Japanese were starting to make an impact so things had to change if the motorcycle business was to continue so they built the /5 range in 500cc, 600cc and 750cc with a common crank which was like a car crank with plain bearings not the built up type with roller bearings like before, the conrods were borrowed from a BMW car, the camshaft was moved to below the crank, it was a completely different motor to previous models (apart from being horizontally opposed) but it was cheaper to build , maintain and it had a reasonable amount of grunt for the time. The frame borrowed elements from the Norton Featherbed and it formed the basis for the next 20 years of BMW motorcycles. It was no longer the bike that ended up with a sidecar due the the earlier bikes having Earls Forks as now they had telescopic forks like everyone else. Anyway the long and the short of it was they were very successful and BMW are still making horizontally opposed twins even though like Porsche they tried other configurations but their customers would have none of it.

Anyway back to the bike, it needed:

  • New rims (dented) and spokes (rusted)
  • New oil seals for engine, gearbox and final drive, anyone would think it was British as everything leaked.
  • Carby rebuild kits
  • Handlebars (rusty and bent)
  • Fork gaiters (holey)
  • Wheel, head stem, and swingarm bearings
  • Throttle, clutch and brake Cables
  • Seat cover
  • Exhaust pipes and mufflers
  • Headlamp rim (see pic)
  • Clean up and paint pitted surfaces
  • Fit electronic Ignition
  • Buy lots of special tools as most of the seals will not come out without them.

So I think I have done my last order for stuff, February looks like a good month to finish.

Making it Stop

The Hornet theoretically has great brakes for a 1930’s car, they are hydraulically actuated and they are a decent size for the weight of the car, however there is a fundamental difference between “modern” drum brakes and ones of the 30’s. The hornet like my Citroen Traction Avant (first released in 1934) has a fixed point where the brake shoes pivot whereas in modern brakes the pivot floats so just having the shoes radiused to the inside diameter of the drum will give you 100% contact, job done. You could get lucky with the fixed pivot and it’ll work but more than likely you will not be that lucky. There are three ways to fix this.

  • Drive the car for thousands of miles and eventually the brakes will bed in, just try not to hit anything while you are doing it.
  • The fixed pivot sometimes can be adjusted but as you cannot see inside the drum it’s a bit difficult to get the clearances right, maybe if you had a spare drum that you could cut a hole in or a bracket that bolts onto the hub follows the profile of a drum, then with a feeler gauge and some time it could work.
  • What I did was make a jig that bolted to the hub, I attached a Dremel fitted with a Sanding drum. The jig was adjustable for diameter, the diameter was set to the inside diameter of the brake drum this meant a fare bit of F-ing around. Wear face mask as I don’t think you should breath this stuff in even though it’s not asbestos anymore, I also had a portable fan blowing the dust away from me. Start by adjusting the shoes out until the sander touches and sand the high spots off a little at a time until you have sanded the complete shoe. Have a cold beer, well done.
Before radiusing with the Dremel less than 50% contact